Secure Your AC Unit: Expert Cage Installation Tips for Maximum Protection
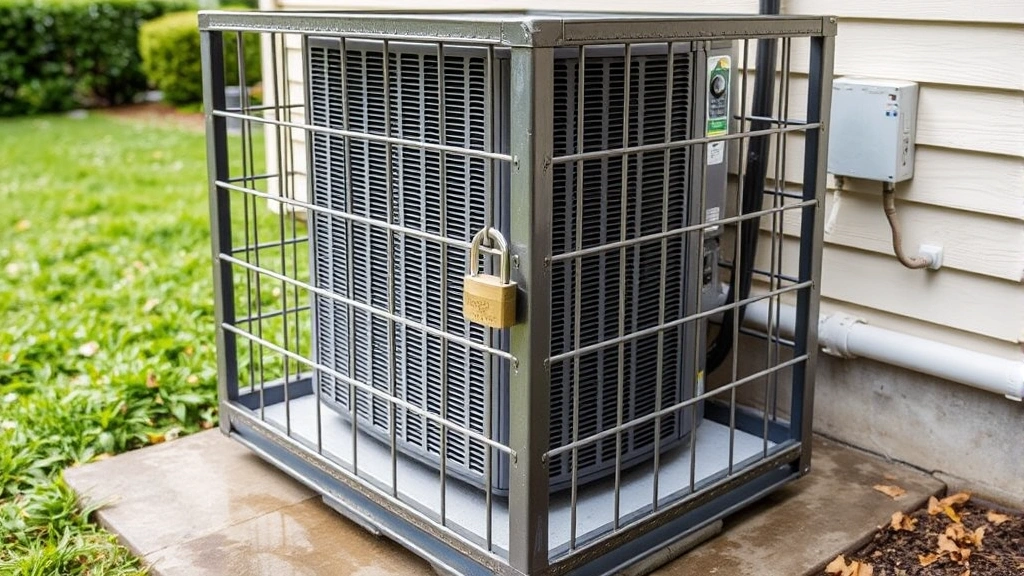
Your air conditioning unit represents a significant investment in home comfort and climate control. However, many homeowners overlook a critical vulnerability: outdoor AC units are prime targets for theft, vandalism, and copper wire stripping. An air conditioner security cage serves as your first line of defense against these threats, protecting your equipment from criminals while extending its operational lifespan. This comprehensive guide explores everything you need to know about installing and maintaining an effective AC unit security cage.
The stakes are higher than you might think. According to industry reports, HVAC equipment theft costs homeowners and businesses billions annually. Beyond financial loss, a compromised AC unit can leave your home vulnerable to environmental exposure and create security vulnerabilities that criminals exploit. Installing a robust security cage demonstrates your commitment to protecting your property and deterring would-be thieves from targeting your residence.
Whether you’re upgrading your home security infrastructure or addressing specific theft concerns in your neighborhood, understanding proper cage installation techniques ensures your air conditioning system remains protected. This guide combines expert recommendations with practical installation wisdom to help you secure your AC unit effectively.
Understanding Air Conditioner Security Threats
Before diving into installation specifics, it’s essential to understand why securing your AC unit matters. Outdoor air conditioning units contain valuable materials that attract criminals, including copper wiring, aluminum components, and refrigerant systems. A single AC unit can contain several hundred dollars worth of recyclable materials, making them lucrative targets for organized theft rings.
Copper theft represents the most common threat to AC units. Criminals can strip copper wiring and coils in minutes, rendering your system inoperable and causing thousands of dollars in damage. Beyond material loss, compromised AC units expose your home’s interior to pest intrusion, water damage, and security breaches. Additionally, disturbed refrigerant systems pose environmental hazards and health risks to household occupants.
Vandalism and intentional damage also plague unprotected AC units. Some criminals damage systems simply to prevent others from using them or to create neighborhood chaos. Weather exposure accelerates deterioration of unprotected units, reducing their operational efficiency and lifespan. By installing an AC security cage, you create a visible deterrent that encourages criminals to target easier opportunities elsewhere.
According to CISA guidelines on property protection, physical barriers significantly reduce theft risk. Security cages fall into this category of proven deterrent technology. The investment in proper cage installation pays dividends through reduced insurance claims, avoided replacement costs, and peace of mind knowing your equipment is protected.
Types of AC Security Cages
The market offers several AC cage options designed for different needs, budgets, and installation environments. Understanding available types helps you select the most appropriate solution for your specific situation.
Welded Steel Cages: These represent the most robust option, featuring heavy-duty steel construction welded at all joints for maximum strength. Welded cages resist cutting tools and prying attempts, providing superior protection against determined thieves. However, they’re heavier, more expensive, and require professional installation. Their permanent nature makes them ideal for long-term security solutions.
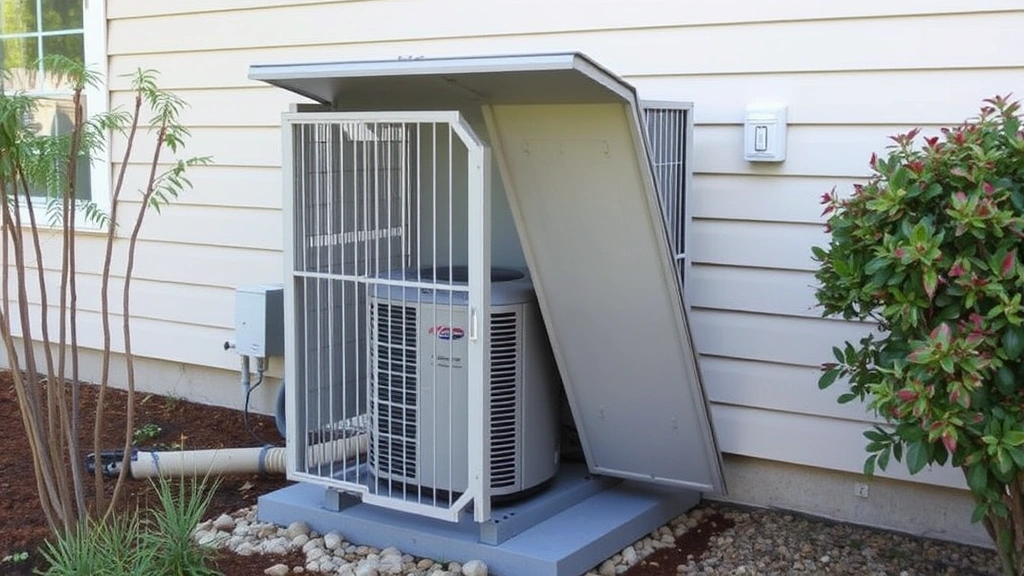
Lockable Aluminum Cages: Lighter-weight alternatives made from aluminum alloy offer easier installation and lower costs. While aluminum is less resistant to cutting than steel, quality aluminum cages still provide effective deterrence. They resist rust better than steel in humid climates and require minimal maintenance. These cages typically feature padlock provisions and removable panels for HVAC service access.
Expandable Security Cages: Designed for flexibility, these cages accommodate various unit sizes and can be adjusted as needed. They use bolt-together construction rather than welding, simplifying installation for homeowners without specialized equipment. Their modular design allows partial disassembly for maintenance access.
Combination Cages with Ground Anchors: Premium options integrate ground anchoring systems that prevent cage lifting or tipping. These cages combine vertical security with horizontal stability, creating comprehensive protection against multiple theft methods. Ground anchors require concrete installation but provide maximum security.
Pre-Installation Assessment and Planning
Successful cage installation begins with thorough planning and assessment. Before purchasing materials or tools, evaluate your specific situation comprehensively.
Measure Your Unit Accurately: Precise measurements prevent purchasing incompatible cages or requiring modifications. Measure height, width, and depth of your AC unit, including any protruding pipes or electrical connections. Account for clearance space needed for maintenance access—most HVAC professionals require at least 24 inches of working space around units. Document these measurements and consult cage specifications before purchasing.
Assess Your Installation Environment: Evaluate the ground conditions where you’ll install the cage. Is the surface concrete, asphalt, or soil? Concrete and asphalt provide stable bases for bolt-down installation. Soil installation requires concrete footings or ground anchors to prevent settling. Check for underground utilities before planning ground anchor installation—contact your local utility locating service to prevent dangerous mistakes.
Review Local Regulations: Some municipalities have specific requirements for AC unit protection or setback distances from property lines. Check local building codes and HOA regulations before installation. Certain areas require permits for permanent security installations. Your city’s building department can clarify applicable rules and prevent costly compliance issues later.
Plan Maintenance Access: Determine how HVAC technicians will access your unit for seasonal maintenance and repairs. Cages should feature removable panels or hinged doors that allow service without complete cage removal. Coordinate installation location to ensure technicians can position service vehicles conveniently.
Essential Tools and Materials
Proper installation requires specific tools and materials. Gathering everything before beginning prevents project delays and frustration.
Required Tools:
- Tape measure and marking pencil
- Power drill with concrete bits (for bolt-down installation)
- Socket set and wrenches
- Level (4-6 foot) for ensuring proper alignment
- Bolt cutters (for testing cage strength, optional)
- Work gloves and safety glasses
- Concrete anchors or expansion bolts (for concrete surfaces)
- Heavy-duty padlocks rated for outdoor use
Materials Checklist:
- AC security cage (appropriate size for your unit)
- Anchor bolts with washers and nuts
- Lock hasps and padlocks (Grade 3 or higher security rating)
- Concrete sealant or weatherproofing spray
- Rust prevention paint or protective coating
- Installation guide and hardware documentation
Consider renting specialized equipment like concrete hole saws if your cage requires large anchor holes. This approach saves money compared to purchasing tools you’ll use only once.
Step-by-Step Installation Guide
Now that you’ve assessed your situation and gathered materials, follow these systematic steps for proper cage installation.
Step 1: Position the Cage Frame
Place your security cage around the AC unit without fastening it initially. Ensure the cage sits level and maintains proper clearance from the unit’s components. Verify that all sides are equidistant from the unit’s edges. Use your level to confirm the frame isn’t tilted. Mark bolt hole locations on the ground using a pencil, working through any existing cage holes.
Step 2: Prepare Anchor Points
For concrete or asphalt installation, use a power drill with concrete bits to create holes at marked locations. Drill slowly to prevent bit slippage and ensure clean holes. For soil installation, dig holes at least 18 inches deep and fill with concrete footings before inserting anchor bolts. Allow concrete to cure fully (typically 24-48 hours) before proceeding with cage installation.
Step 3: Install Anchor Bolts
Insert anchor bolts through cage frame holes into prepared holes. For concrete surfaces, use expansion bolts or concrete anchors appropriate for your ground type. Hand-tighten bolts initially, then use wrenches to secure them firmly. Don’t over-tighten—this can strip threads or crack concrete. Ensure all bolts are snug but not damaged.
Step 4: Verify Level and Alignment
Use your level to confirm the cage frame is perfectly level and plumb (vertically aligned). Adjust bolt tightness if necessary to achieve proper alignment. This step prevents stress concentration and ensures uniform security. Take time here—rushing alignment creates weak points criminals can exploit.
Step 5: Install Access Panels and Doors
If your cage features removable panels or hinged doors for maintenance access, install these according to manufacturer specifications. Ensure panels sit flush and don’t create gaps criminals could exploit. Test door operation multiple times to confirm smooth function.
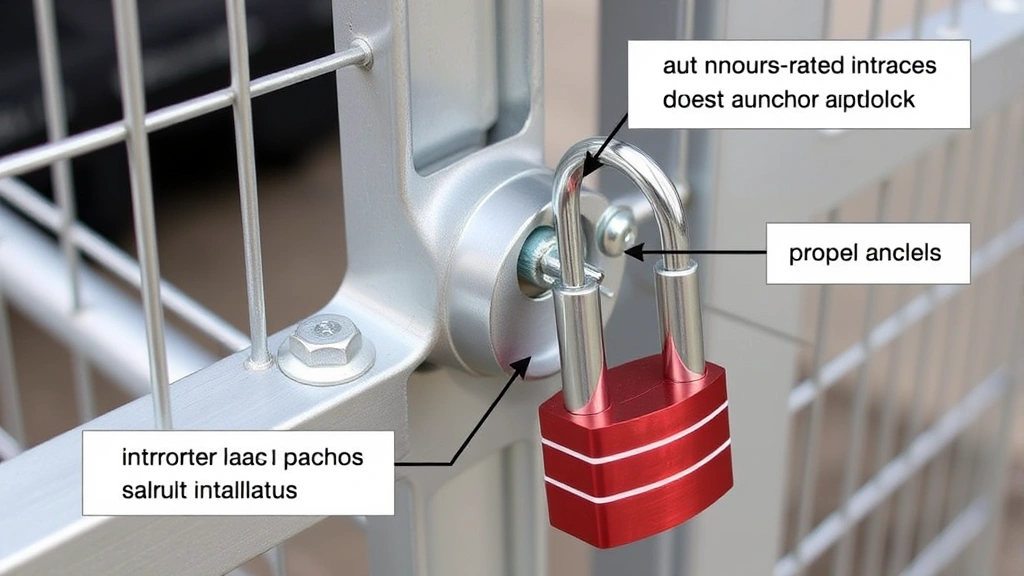
Step 6: Install Locking Mechanisms
Attach lock hasps to cage doors using provided bolts. Install high-quality padlocks rated for outdoor security use. Choose locks with hardened shackles resistant to cutting tools. Test lock operation to ensure smooth function. Consider using two padlocks on opposite sides for added security on high-value units.
Step 7: Apply Protective Coatings
Once installation is complete, apply rust-prevention paint or protective coating to any exposed metal. This step extends cage lifespan, particularly for steel cages in humid climates. Allow coatings to cure fully before exposing the cage to weather or use.
Maintenance and Durability Considerations
Installation is just the beginning. Ongoing maintenance ensures your security cage remains effective throughout its lifespan. Regular inspection catches problems before they compromise security.
Monthly Inspections: Walk around your cage monthly, checking for rust spots, loose bolts, or damage. Tighten any loose hardware immediately. Address rust spots with touch-up paint to prevent corrosion spread. Look for signs of tampering or attempted break-ins.
Seasonal Maintenance: Before winter, inspect weatherstripping and seals around access panels. In humid climates, increase inspection frequency to catch rust early. After severe weather, check for damage or shifting that might weaken the cage structure.
Lock Maintenance: Clean padlock mechanisms seasonally, removing dirt and debris that could affect operation. Apply light lubricant to locks to maintain smooth function. Replace locks showing signs of wear or corrosion. Upgrade to newer lock models if better security technology becomes available.
Bolt Inspection: Periodically check all bolts for tightness. Temperature fluctuations and vibration from the AC unit can loosen fasteners over time. Tighten as needed using appropriate wrenches. Consider using thread-locking compound on bolts to prevent loosening.
Professional HVAC technicians appreciate well-maintained cages that don’t interfere with service access. Clear any debris from around the cage that might block ventilation or access. Keep the area around your cage clean and organized.
Legal and Insurance Implications
Before installing your security cage, understand relevant legal considerations and insurance benefits.
Liability Concerns: Properly installed cages shouldn’t create liability issues, but poorly secured cages could injure someone or create hazards. Ensure your installation meets all manufacturer specifications and local codes. Document your installation with photos and keep receipts for all materials.
Insurance Benefits: Contact your homeowner’s insurance provider to discuss security cage installation. Many insurers offer premium reductions for demonstrated security improvements. Some policies require specific security measures for full coverage. Installing a cage might qualify you for these discounts, offsetting installation costs within a few years.
Warranty Considerations: Check your AC unit’s warranty to ensure cage installation won’t void coverage. Most manufacturers approve properly installed security cages, but verification prevents future disputes. Contact your HVAC contractor before installation if you have concerns.
Local Code Compliance: Verify your installation complies with setback requirements, easement restrictions, and utility access requirements. Some jurisdictions prohibit permanent structures within certain distances of property lines. HOAs may have specific requirements for security installations. Compliance prevents costly removal orders or fines.
Consider consulting with a local security professional who can assess your specific situation and recommend cage types that comply with local regulations while providing optimal protection.